WordPress is well known CMS for the decade. I personally like it very much and using since 2008. With the help of Alibaba Cloud, you can set up your own WordPress which you can customize easily later on. 
To set up a WordPress ECS is very easy just follow the below steps to configure a WordPress ECS.
if you remember my previous post in which I explained creating an ECS machine. We will follow the exact same steps to create a WordPress ECS.
I hope you remember Elastic Computer Service (ECS). We are going to create a WordPress enabled ECS.
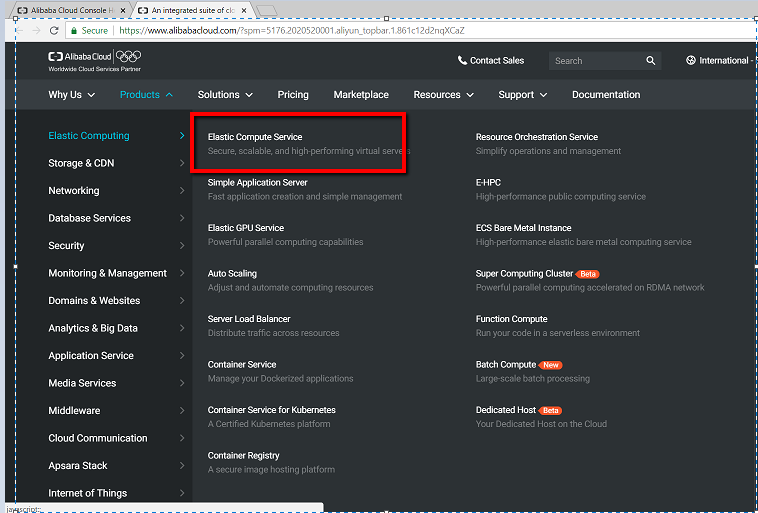
Step 1: For this just log in with your credentials and go to console option.
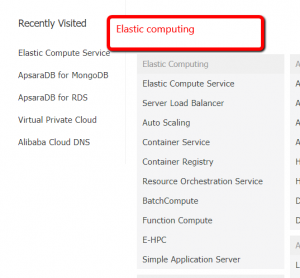
In which you have to select the Elastic Computer Service option from the menu.
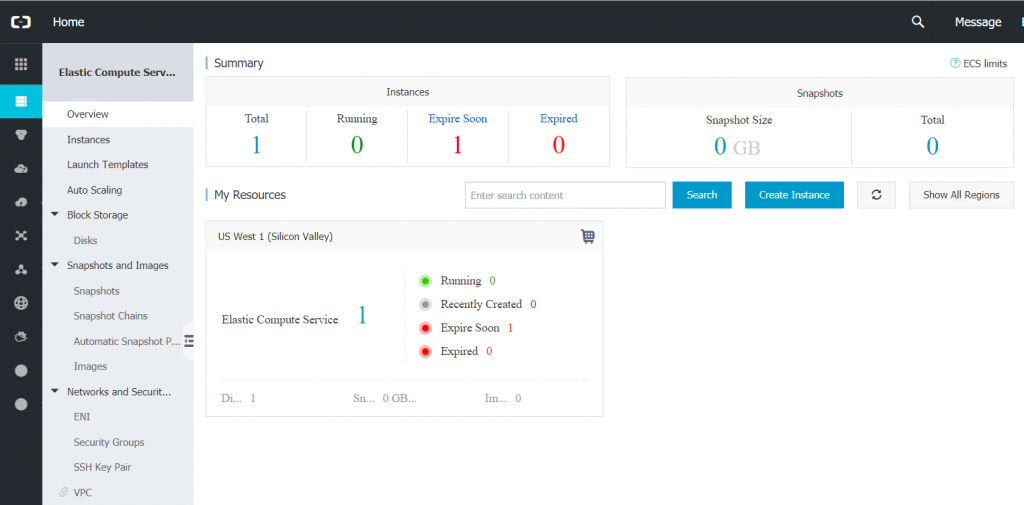
Step 2:- After clicking the ECS option you will get the following screen where you will find a summary of your existing ECS. Now Click on Instances option to view instances or ECS machine in the tabular format.
Step 3: As you aware that we can create ECS and in any available region. Suppose if you want to see all the instances in Middle East & India ‘s India area then just click that option as shown in below image.

Step 4:- You will get all the instances which exist in the selected area in the below screen which you can manage any time. As we have created a new Instance for WordPress we will click on “Create Instance” button.

Step 5: After clicking the button we will get a wizard where we have to select some specific values which we preferred.
if you see in the first step we have billing Method option like Subscription or PAY AS YOU GO option which we can choose as per our ease. In the current example, I am using PAY AS YOU GO Option. You can choose any region as well but my preference in Asia’s India area.

As per your preference you can select no of CPU processor, RAM & Disk. for this demo purpose, we are choosing default minimum configuration.
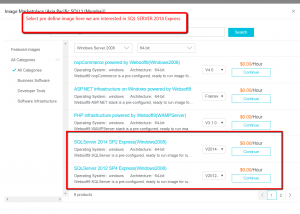
Step 6: In the next step we have to choose the image which we want on the machine. For this specific example for our ease, we are choosing option Marketplace image option where we will have a bunch of pre-generated images.

Step 7: After clicking marketplace image button we will get the following screen. Just search for WordPress we will get options as shown below.
You can choose any available free image as per your operating system preference.

Step 8: Just click the “Continue” button in front of the selected image and you are good to go. After selecting image next step in choose disk which you can choose either Ultra Cloud Disk or SSD as per your need and any size.

Step 9: in the next step just select the network and other options. in the current demo, we are just going with default.
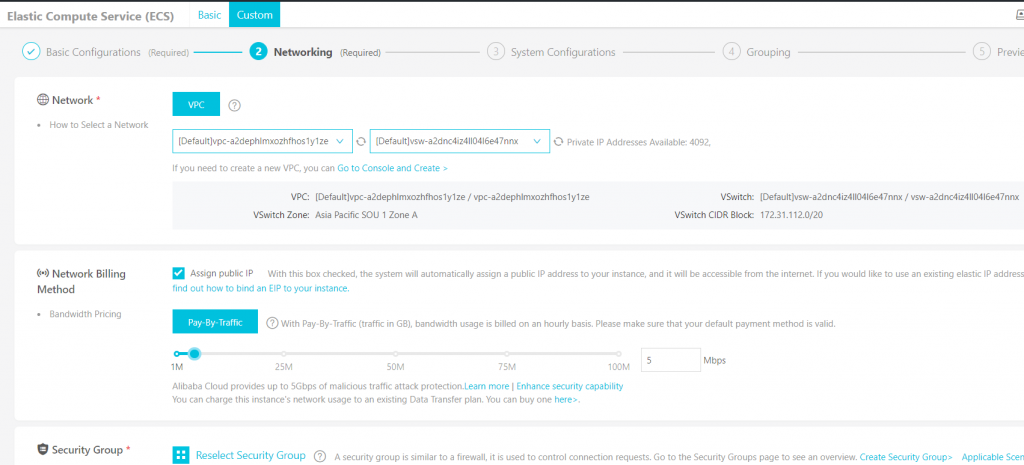
step 11: Now, when you click on next step you can configure the password as per your need. This password would be your machine’s password.

step 12: At the end just review your configuration and click on create an instance.

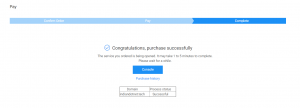
Step 13: You will get following popup window which states that the instance would be ready in 1-5 mins.

step 14: Now, when you go to console and select instances option which we did earlier in this post. You will find a new instance is up and running.
If you see here you will find public and private IP address by which you can access the machine via RDP (if windows operating system) or Putty (if other) if required.

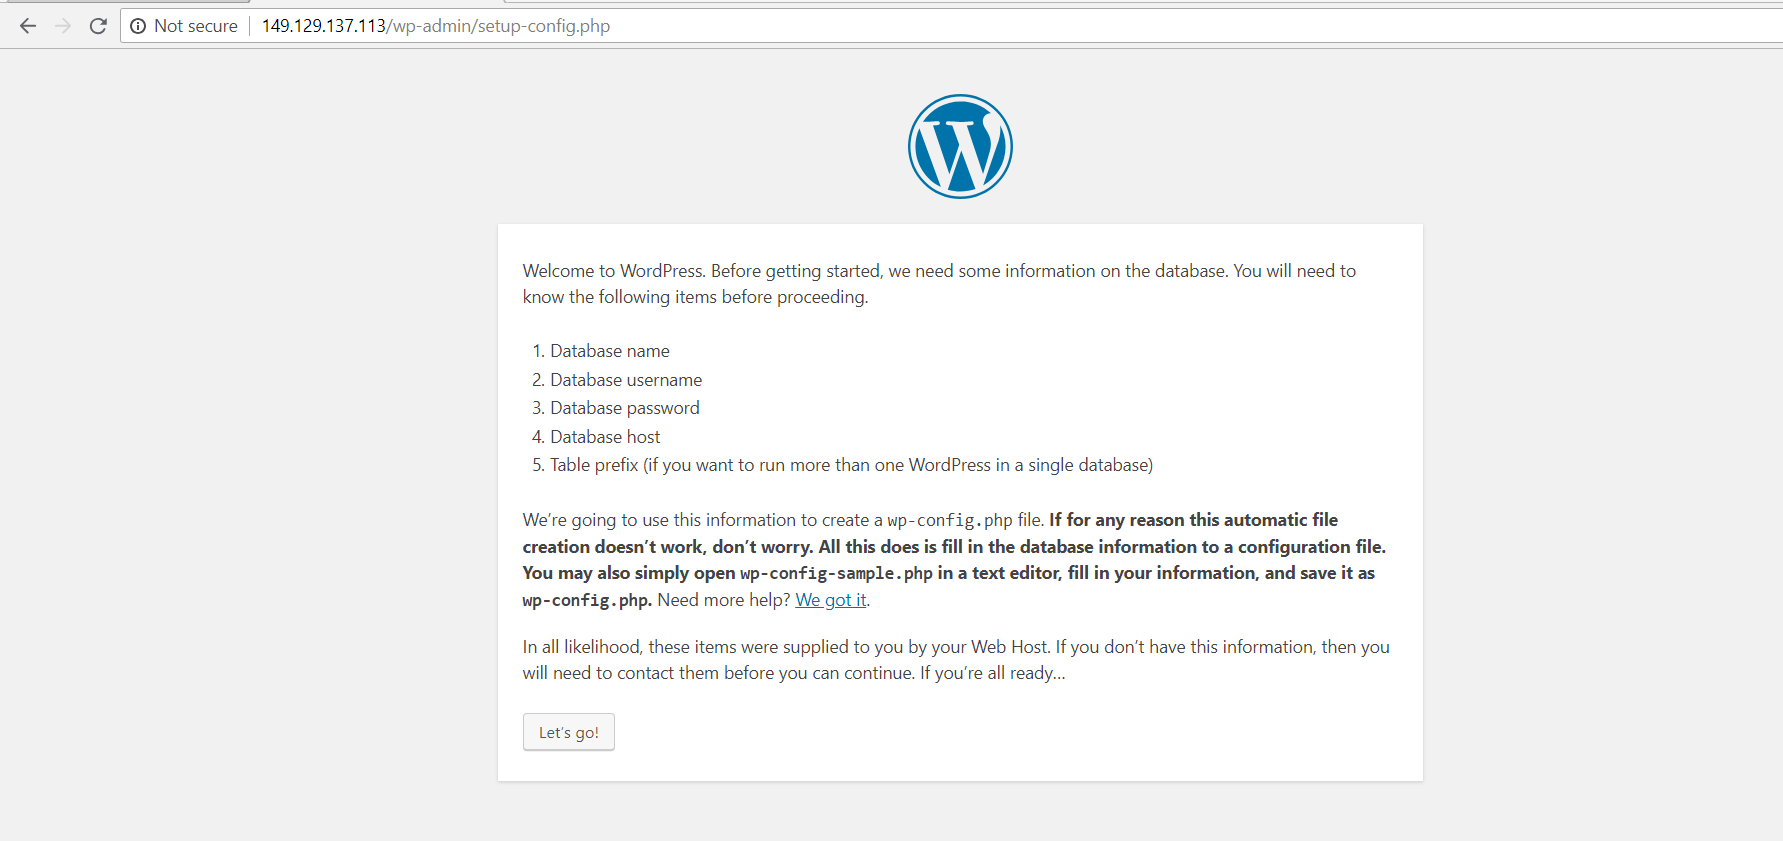
step 15: Now, Just try to open public IP address in the browser. You will find the WordPress screen. Just configure it and we are good to go.

You can see how, easy to create an ECS with WordPress enable.
Please, do share your inputs.
